Lakewood, CO AC Installation Guide — Step-by-Step HVAC
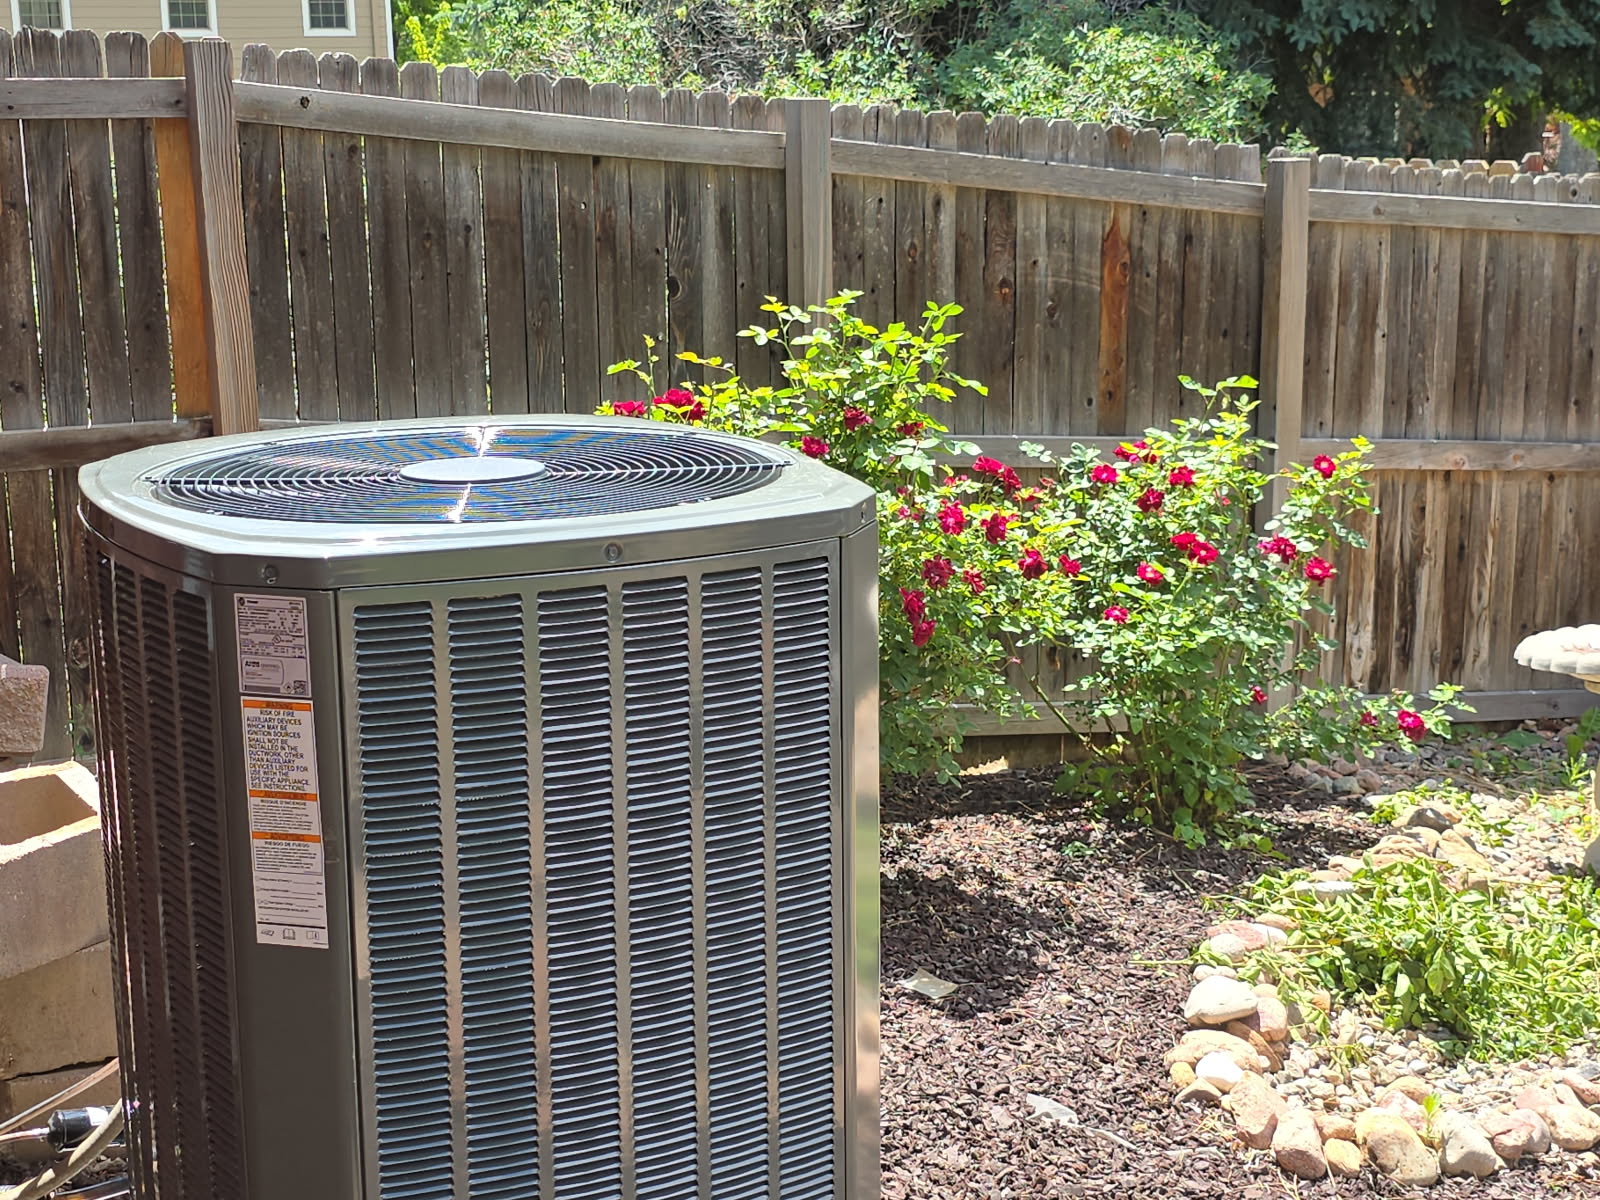
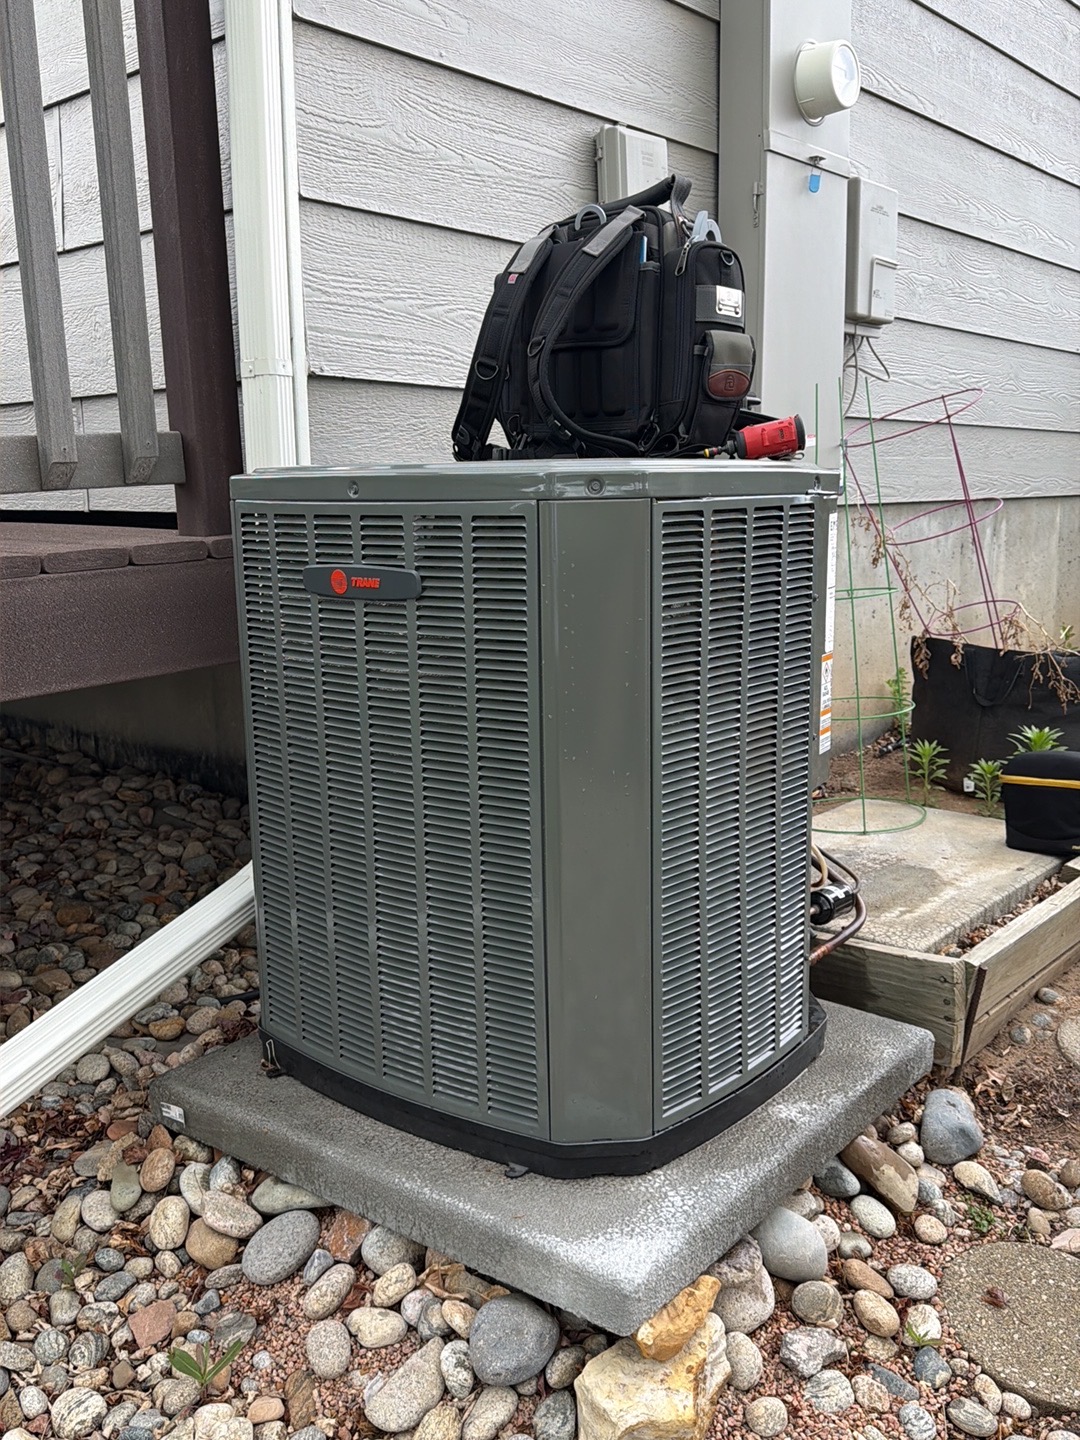
If you are searching for how to install an air conditioner, you are probably balancing budget, comfort, and safety. This guide walks you through a practical, step-by-step process so you know what to expect, what permits matter in Denver, and where DIY stops. We will also show you when calling a NATE-certified pro saves money and headaches. Keep an eye out for a free ductless quote if that is on your list.
Before You Start: Safety, Codes, and Choosing the Right System
Installing central AC is more than setting a condenser and flipping a switch. In the City and County of Denver, a mechanical permit and inspection are required for new or replacement AC installs. Federal law also requires EPA Section 608 certification to handle refrigerant. If you do not hold that certification, do not open the sealed refrigerant circuit.
Choose equipment sized for your home. Correct capacity depends on load factors such as square footage, insulation, window count, sun exposure, and duct condition. A Manual J load calculation is the gold standard. Oversized systems short cycle, waste energy, and leave rooms humid. Undersized systems run nonstop and still feel warm.
Match the outdoor unit, indoor coil, and furnace or air handler by model number so you get the tested efficiency rating. As of 2023, split system AC in the North region, which includes Colorado, must meet 13.4 SEER2 minimum. Higher SEER2 models can qualify for rebates and deliver lower bills. If you live in an older Denver bungalow or a Littleton tri-level, have your ducts inspected. Many homes have airflow bottlenecks from past remodels.
Tools and Materials Checklist
Have the right gear ready before you begin:
- Hand and power tools
- Level, tape measure, nut drivers, drill with bits
- Sheet metal tools and snips
- HVAC-specific tools
- Torque wrench, vacuum pump, micron gauge, digital manifold
- Nitrogen tank with regulator for pressure testing
- Safety and install supplies
- Electrical disconnect, whip, and properly sized breaker
- Pad or mounting feet, vibration isolators, line set, drain tubing
- Refrigerant-rated insulation, line set covers, UV-resistant ties
- Mastic or UL-181 tape, filter, float switch for condensate safety
Electrical work must follow NEC and local amendments. If you are not trained, hire a licensed electrician.
Step 1: Site Survey and Load Planning
Walk the home and gather data.
- Measure square footage and window orientation. Note attic insulation depth and duct sizes.
- Identify return and supply locations and any hot or cold rooms.
- Confirm where the outdoor unit can sit. Maintain clearances per manufacturer, often 12 to 24 inches from walls and 60 inches above. Avoid dryer vents and downspouts.
- Verify panel capacity and breaker space. Label the new circuit on your panel schedule.
Pro tip: In metro Denver, older neighborhoods often hide ducts in finished chases or joist bays. Expect elbows, transitions, and tight mechanical rooms that demand custom sheet metal.
Step 2: Prepare the Pad and Set the Condenser
- Level a composite or concrete pad on compacted gravel for drainage.
- Set the condenser and align service valves toward the service path.
- Add vibration isolators if the unit sits on a deck or near bedrooms.
- Confirm final clearances and anchor per manufacturer instructions.
A stable, level base protects the compressor and reduces noise.
Step 3: Run the Line Set and Drain
- Route copper tubing from the air handler or coil to the condenser using the shortest practical path.
- Protect and insulate the suction line with thick, closed-cell insulation. Seal every slit and joint.
- Slope the condensate drain at least 1/8 inch per foot. Install a float switch to prevent overflow.
- If penetrating exterior walls, drill with a slight downward pitch to shed water. Seal penetrations with UV-rated sealant.
Keep bends gentle to protect tubing. Avoid low spots where oil can trap.
Step 4: Set the Indoor Coil and Plenum
- Replace the indoor coil to match the new condenser. Do not pair a new high-efficiency condenser with an old mismatched coil.
- Set the coil level on the furnace or air handler and connect the drain to the primary and secondary ports.
- Fabricate or adjust the supply plenum for smooth airflow. Seal seams with mastic, not ordinary duct tape.
If the home has limited headroom or an oddball return cabinet, custom transitions may be needed. That is common in Lakewood ranch homes and basement mechanical rooms.
Step 5: Brazing, Pressure Test, and Evacuation
- Clean and deburr tubing. Dry-fit, then braze with nitrogen flowing at a low purge to prevent oxidation.
- Pressure test with dry nitrogen, typically 300 psi for residential split systems. Hold stable per manufacturer guidance.
- Pull a deep vacuum to 500 microns or lower using a quality vacuum pump and a micron gauge. Close valves and confirm it holds. This protects the compressor from moisture and acids.
Do not skip the micron gauge. It is the only way to verify a dry, tight system.
Step 6: Electrical, Thermostat, and Controls
- Install a weatherproof disconnect within line of sight of the condenser and run an appropriately sized whip to the unit.
- Land low-voltage wires on the contactor and control board as labeled. Secure a clean, labeled harness at the furnace or air handler.
- Set or upgrade the thermostat. Smart thermostats add scheduling and energy savings when configured correctly.
Always de-energize circuits before working. Verify polarity and ground.
Step 7: Refrigerant Charge and Start-Up
- Open service valves and weigh in factory charge adjustments if the line set length differs from the factory baseline.
- Start the system. Verify blower speed, outdoor fan rotation, and compressor sound.
- Check superheat and subcooling against the manufacturer chart for current outdoor temperature and indoor return conditions. Adjust charge if needed.
- Measure temperature split across the coil, typically 16 to 22 degrees Fahrenheit when ducts and charge are correct.
At Denver’s altitude of about 5,280 feet, air density is lower than at sea level. That can influence airflow readings. Focus on manufacturer targets for superheat and subcooling and set blower speed to deliver the rated CFM across the coil.
Step 8: Airflow and Duct Balancing
- Verify static pressure with a manometer. Typical total external static target is around 0.5 inches w.c., but follow the equipment label.
- Balance supplies and returns to fix hot or cold rooms. Restrictive filters, undersized returns, and crushed flex runs are common culprits.
- Seal the return side carefully. Leaks here suck dust into the system and reduce comfort.
If static is high, address duct issues before handing off the system. A great condenser cannot fix a starved duct system.
Step 9: Commissioning Checklist and Homeowner Handoff
- Confirm model and serial numbers for registration and rebates.
- Document electrical readings, pressures, superheat, subcooling, and temperature split.
- Walk the homeowner through thermostat settings, filter changes, and drain safety.
- Clean the work area and haul away the old unit.
We prep your space to keep it clean, install your new system by the book, and triple-check that everything runs smoothly before we leave. We will even haul away the old unit and show you how to work the new one before we go.
When DIY Stops: Legal and Practical Limits
There is a bright line between homeowner tasks and pro-only work.
- Legal: Handling refrigerant requires EPA Section 608 certification. Pulling a mechanical permit and passing inspection are required in Denver.
- Practical: Brazing, pressure testing, and deep evacuation demand specialized tools and training. A small mistake can ruin a new compressor.
- Economic: A wrong charge or airflow issue can add 10 to 30 percent to utility bills and shorten equipment life.
Our techs are NATE-certified and trained to install all major brands. From single-stage systems to variable-speed models with smart thermostats, we guide you to the unit that fits your space and comfort goals.
Cost Factors You Can Control
Prices vary by home and equipment. You can manage several drivers:
- System type
- Single-stage units cost less upfront. Variable-speed units run quieter and save energy.
- Duct condition
- Sealing and right-sizing ducts can reduce tonnage needs and improve comfort.
- Electrical readiness
- A clear panel, correct breaker, and proper bonding keep labor time down.
- Access and layout
- Tight mechanical rooms, finished chases, and long line set runs add labor.
Ask about financing, utility rebates, and tax credits. We help identify programs and handle paperwork so you do not leave money on the table.
Maintenance: Protect Your Investment
AC service is the professional maintenance and care of your air conditioning system to ensure it runs efficiently, extends its lifespan, and provides reliable comfort. After install, plan two visits in year one: a post-season check to confirm charge and airflow under real loads, then a pre-season tune next spring.
- Replace filters every 1 to 3 months based on dust and pets.
- Keep the outdoor coil clean. Trim plants to maintain clearance.
- Test the float switch every season and flush the drain.
Members enjoy reminders, priority scheduling, and extended-care options. That is peace of mind when the first heat wave hits.
Real-World Challenges in Denver Homes
We work in tight mechanical spaces, navigate installations where equipment was added around existing structures, and evaluate duct systems and airflow even when those systems are partially concealed in finished walls or unconventional locations. In neighborhoods like Wash Park or Englewood, basements often present low ceilings and offset returns that require creativity. Estate-scale homes in Castle Rock can demand zoning and variable-speed solutions to tame temperature swings.
If you suspect an unusual prior install, bring in a diagnostic-first team to evaluate before you buy equipment. You may need duct remediation more than bigger tonnage.
Special Offer: Free Ductless Installation Quote
Thinking about a ductless mini split for a home office or attic conversion? Get a free ductless installation quote. Book by 2026-08-05 to lock in this offer. Call (720) 231-0671 or visit https://simplymechanicalco.com/ to schedule.
What Homeowners Are Saying
"Simply Mechanical did an amazing job replacing our AC system! We had a very unusual system from a previous homeowner, and Simply Mechanical worked tirelessly to replace it with a better system, and they gave us a great price too!"
–Customer, AC Installation
"Great staff, experts at what they do, they installed a new boiler and completely overhauled our AC system. These guys are absolute pros."
–Customer, AC Installation
"They did a great job replacing our AC and furnace and were transparent about product, pricing, and delivered on a quick install. Nobody was able to match the pricing that they gave us on a Trane product."
–Customer, AC and Furnace Replacement
Frequently Asked Questions
Do I need a permit to install AC in Denver?
Yes. The City and County of Denver require a mechanical permit and inspection for new or replacement AC installations. Permits help ensure safety and code compliance.
Can I install my own AC if I buy the equipment online?
You can handle some prep tasks, but refrigerant work requires EPA Section 608 certification. Most manufacturers also tie warranty coverage to proper installation and commissioning.
How long does a typical AC installation take?
Most straightforward residential installs finish in one day. Complex duct changes, electrical upgrades, or tight spaces can extend work to two or more days.
What size air conditioner do I need?
Size depends on a Manual J load calculation that accounts for square footage, insulation, windows, and ductwork. Oversizing causes short cycling and discomfort.
What is SEER2 and what minimum applies in Colorado?
SEER2 is the updated efficiency rating adopted in 2023. For split system AC in Colorado’s North region, the minimum is 13.4 SEER2 for most residential sizes.
Conclusion
You now know how to install an air conditioner step by step, what Denver permits require, and when to call a pro. If you want guaranteed comfort and efficiency from day one, schedule AC installation with Simply Mechanical. Call (720) 231-0671 or visit https://simplymechanicalco.com/. Ask about our free ductless installation quote available through 2026-08-05.
Ready to Stay Cool?
- Call now: (720) 231-0671
- Book online: https://simplymechanicalco.com/
- Bonus: Free ductless mini split installation quote if you schedule by 2026-08-05
Get a clean, by-the-book install from NATE-certified pros who triple-check performance and register your warranties for you.
About Simply Mechanical AC, Furnace & Boiler Repair
For 30+ years, Simply Mechanical has kept Denver homes cool with NATE-certified technicians, upfront pricing, and a Safety First approach. We install all major brands, handle complex layouts, and register your warranties. Members enjoy priority service and extended care options. Expect clean, by-the-book installs, clear communication, and fast response from a local team that treats your home with respect.
Sources 12
- Upgrade your home’s comfort and efficiency with rebates worth up to $9,000 on a qualified heat pump, available through Xcel Energy and Simply Mechanical.simplymechanicalco.com
- From free estimates to financing options, we make sure boiler installation doesn’t feel overwhelming.simplymechanicalco.com
- In total, eligible households can receive up to $14,000 in combined rebates, depending on the scope of the project.simplymechanicalco.com
- $2,000 for installing a cold-climate heat pumpsimplymechanicalco.com
- Happy comment by David Kalmbachwww.google.com
- Happy comment by Wes Bennettwww.google.com
- Happy comment by Jerome Morignotwww.google.com
- Happy comment by Mary Shippywww.google.com
- AC Repair in Littleton, CO | Trusted Local HVAC Prossimplymechanicalco.com
- AC Repair in Aurora, CO | Simply Mechanicalsimplymechanicalco.com
- AC Repair Louisville, CO | HVAC Servicesimplymechanicalco.com
- Commercial Heating & Cooling in Littleton, CO | HVAC Prossimplymechanicalco.com